We will learn how to insert and edit a video in Articulate Storyline 360.
Table of Contents
Let us understand how to insert and edit a video in Articulate Storyline 360.
Video – Inserting and editing a video in Articulate Storyline 360
Go to the slide view of Storyline and select the Insert tab
Under this tab, you get to see two options to insert a video. In the media section, you get to insert a video from a file, website, or media library. You also get the option to record a video from your webcam and then insert it into your slide.
In the Content Library 360 section, you have the option to insert a video from the inbuilt library of Articulate Storyline.
Inserting a video into our slide
Let us now try inserting a video into our slide.
Now we have this video on our slide, and much like an image, you can move it around and change its size as well. When you select the video, you get this video tool options tab at the top. Here you can arrange the size and coordinates by putting the values.
Align and Arrange Video
The arrange and align options are the same here as any other object, and we have talked about them in the previous videos as well.
Closed Captioning
If you want to import closed captions to your video from your system, then you can do so by clicking on this option here.
If you want to add or edit your own captions to the video, it is possible. You just need to click on this add captions button, and it will open this tab for you. Now here you can see the video and the timeline for it. At the top left, you have the pause-play button and a slider through which you can control the video’s timeline. You can use these arrows to jump from one caption to the next.
Let us try inserting some captions into our video. We will type some random text into our captions.
If you want, then you can delete the selected caption through this option here. You can also split a caption into two different parts through this split option.
You can export your edited captions through this export option.
You also get to delete all the video captions through this option here.
Once you are done making changes to your closed captions, then you can save it to your video and exit this tab with this option here.

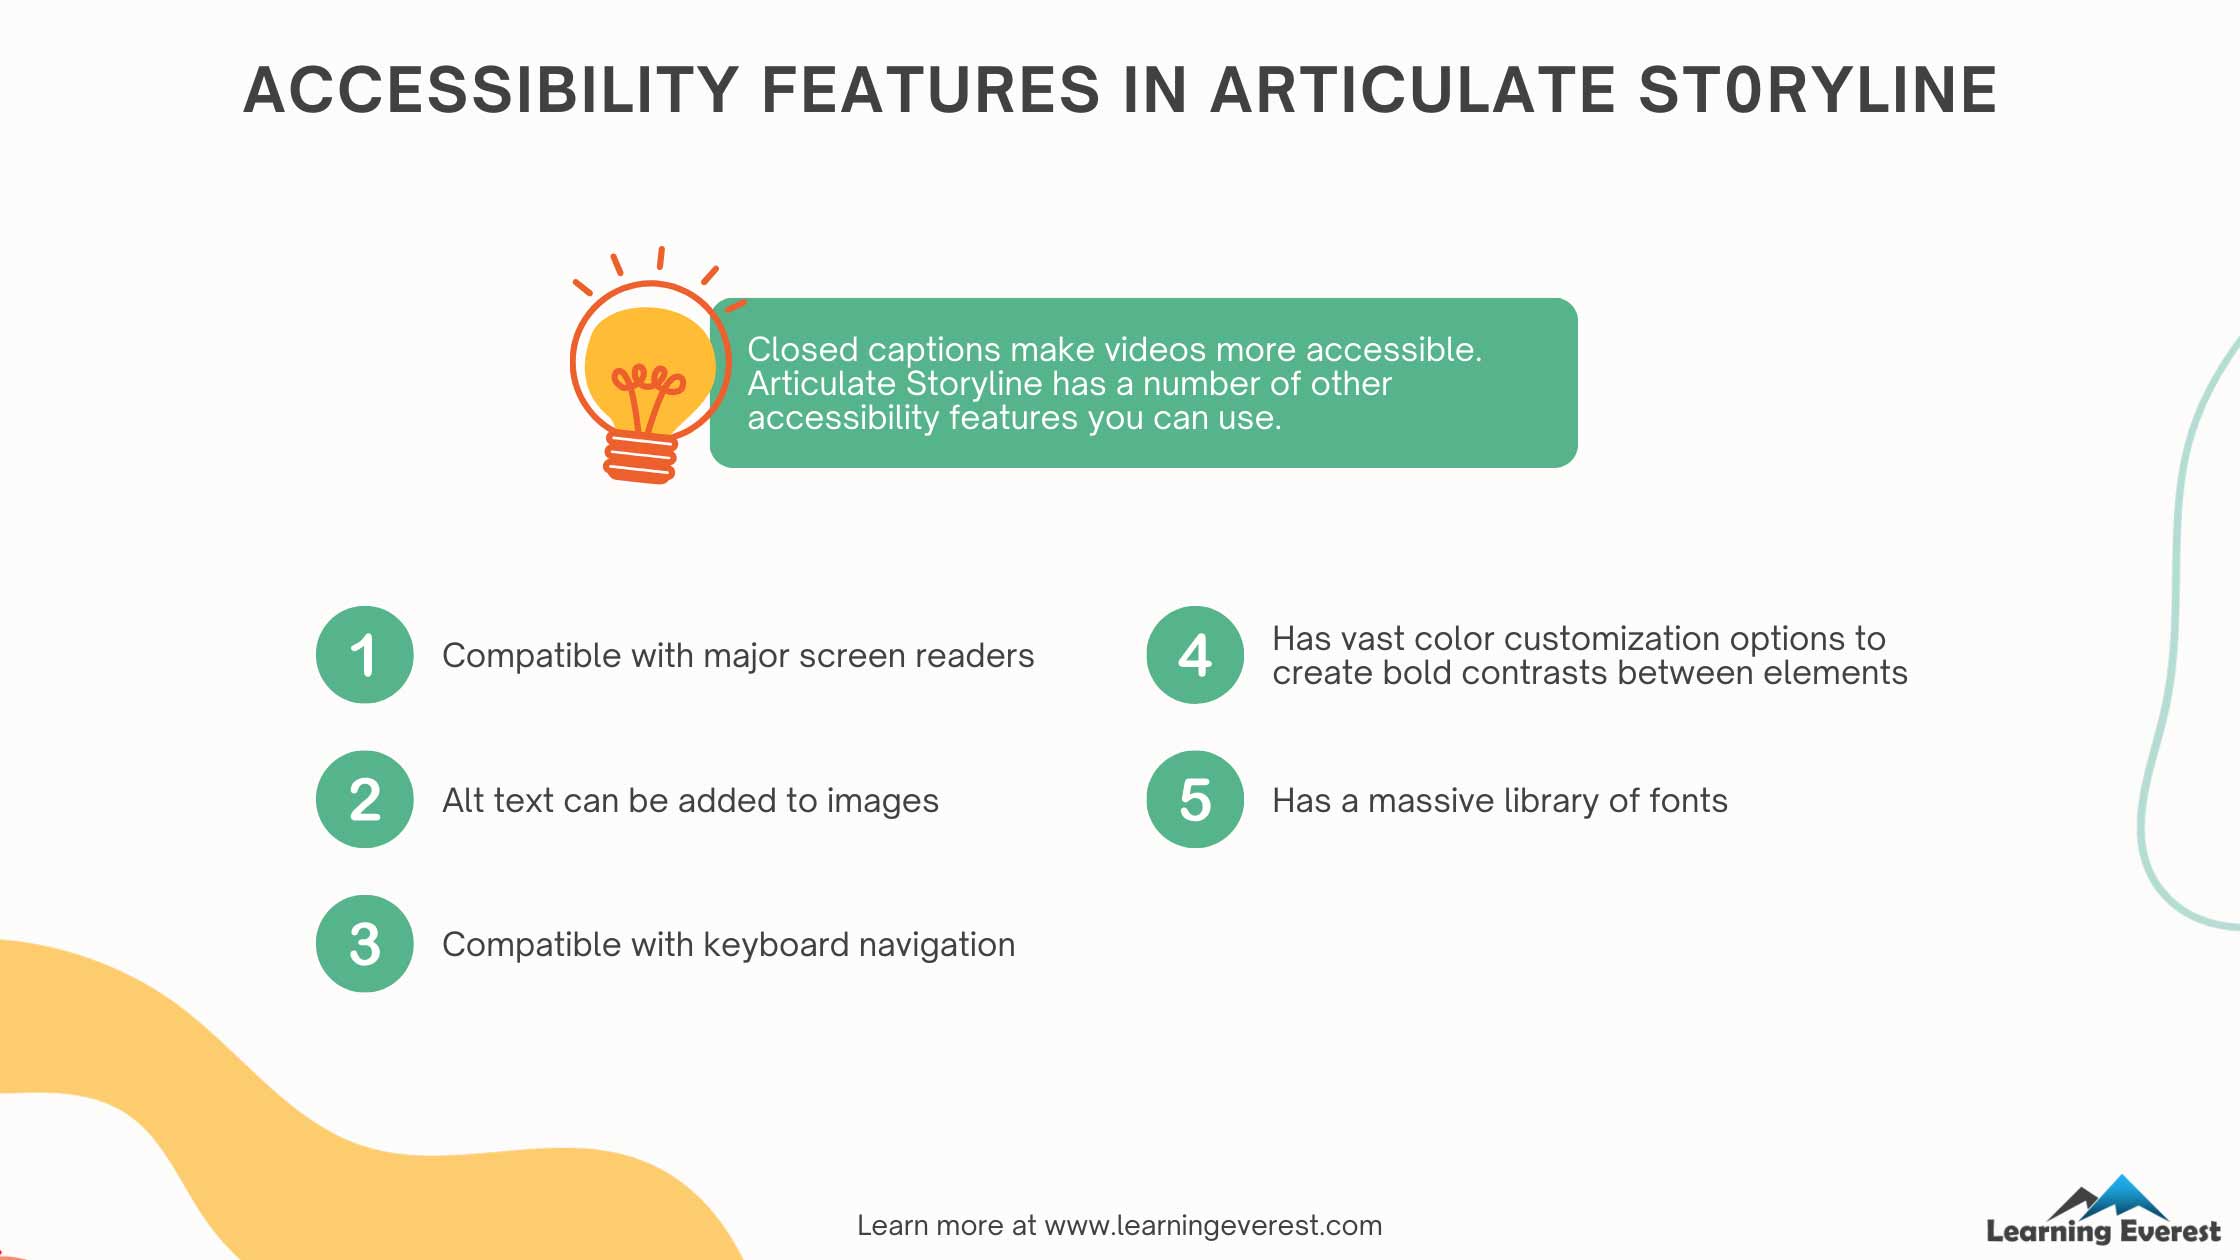
Accessibility Features in Articulate Storyline
Displaying Video
In this video options section, you get four options. The first one is to show a video, and with this, you get to choose whether you want your video to be shown in the slide or in a new browser window. Initially, it is set to show the video in the slide, so let us preview this and see how it looks. You can see that we have the video on the slide, and it starts playing automatically.
If we change this to a new browser window, things will change a bit in the preview.
Now you can see this tab opens up, which tells that the new window for the video will appear in a browser-based output and that this option is not available in the preview.
When you have selected the new browser window option, then the Play video option stays locked to ‘when clicked’ as the video can only be played in a new window once you click it.
Let us now change it back to show the video on the slide.
Triggers for Video
When done, you can see that the play video option is not locked any more, and it lets us choose whether we want the video to be played automatically or when the user clicks on it. You can also set it to be played by a trigger, but you have to put a trigger for that, or else the video won’t play.
We’ll be talking about the triggers in the relevant videos.
If you want the video controls to be shown to the user, you can change the show video control option to the below video. Now you can see that we have this timeline bar and the play-pause button just below the video. This is how it’ll be shown in the preview and the final project as well.
Initially, your video gets automatically compressed as per the project, but if you don’t want your video to get compressed, you can simply change this to the none option.
Well, that is all for the video options.
Editing Video
Now let us check out how we can edit our video, and to do that, we have to click on this option. Once done, it’ll open a tab that will have many opportunities to edit the video, so let us dive into it.
Here you can see the video and the timeline for it. At the top, you have five sections: close, edit, adjust, logo and video. Let us explore them one by one.
In the edit section, you get the option to trim crop and adjust the volume of your video.
When you click on the trim option, you get these blue selections on both ends of the timeline. By dragging the end of the blue selection on the timeline, you can define the area that needs to be trimmed. The area that’s in the blue will get trimmed once you save and exit this tab.
Cropping Video
The crop option works the same with videos as it does with images.
You can increase or decrease the volume of the video by this option which opens a tab and lets you adjust the volume accordingly.
You can increase or decrease the video’s brightness from this adjust section.
Inserting Logo
The logo section lets you insert a logo into your video. Let us try inserting one; once you insert the logo, you can also control its transparency. If you want to remove the logo, then the remove option lets you do that.
In the video section, you can change the video that you have inserted or reset the changes you have made to your video.
Down here, you can see the specifications of the video and the options that we apply to it, such as trim or crop.
Let us save and close this tab so all of the changes we made to our video get applied to it.
Video volume
The video volume option here lets you broadly arrange the video’s volume to low, medium, high, or to mute.
Preview
This preview option lets you play or pause your video without going to the preview section.
Helpful Hack to Play View as a Background
There is a convenient and helpful hack that you can use to make your video as a background, so it doesn’t get interrupted when the user clicks on it. You can insert and place a shape over your video to do that. Now you have to open the format shape dialogue box and increase the transparency to 100 percent.
If we go to preview then, you may notice the video is not clickable anymore and keeps on playing in the background no matter where we click.
With this done you now know all the relevant information on inserting and editing a video in Articulate Storyline .
Please do have a look at the other informative videos that we have for Articulate Storyline.
Infographic

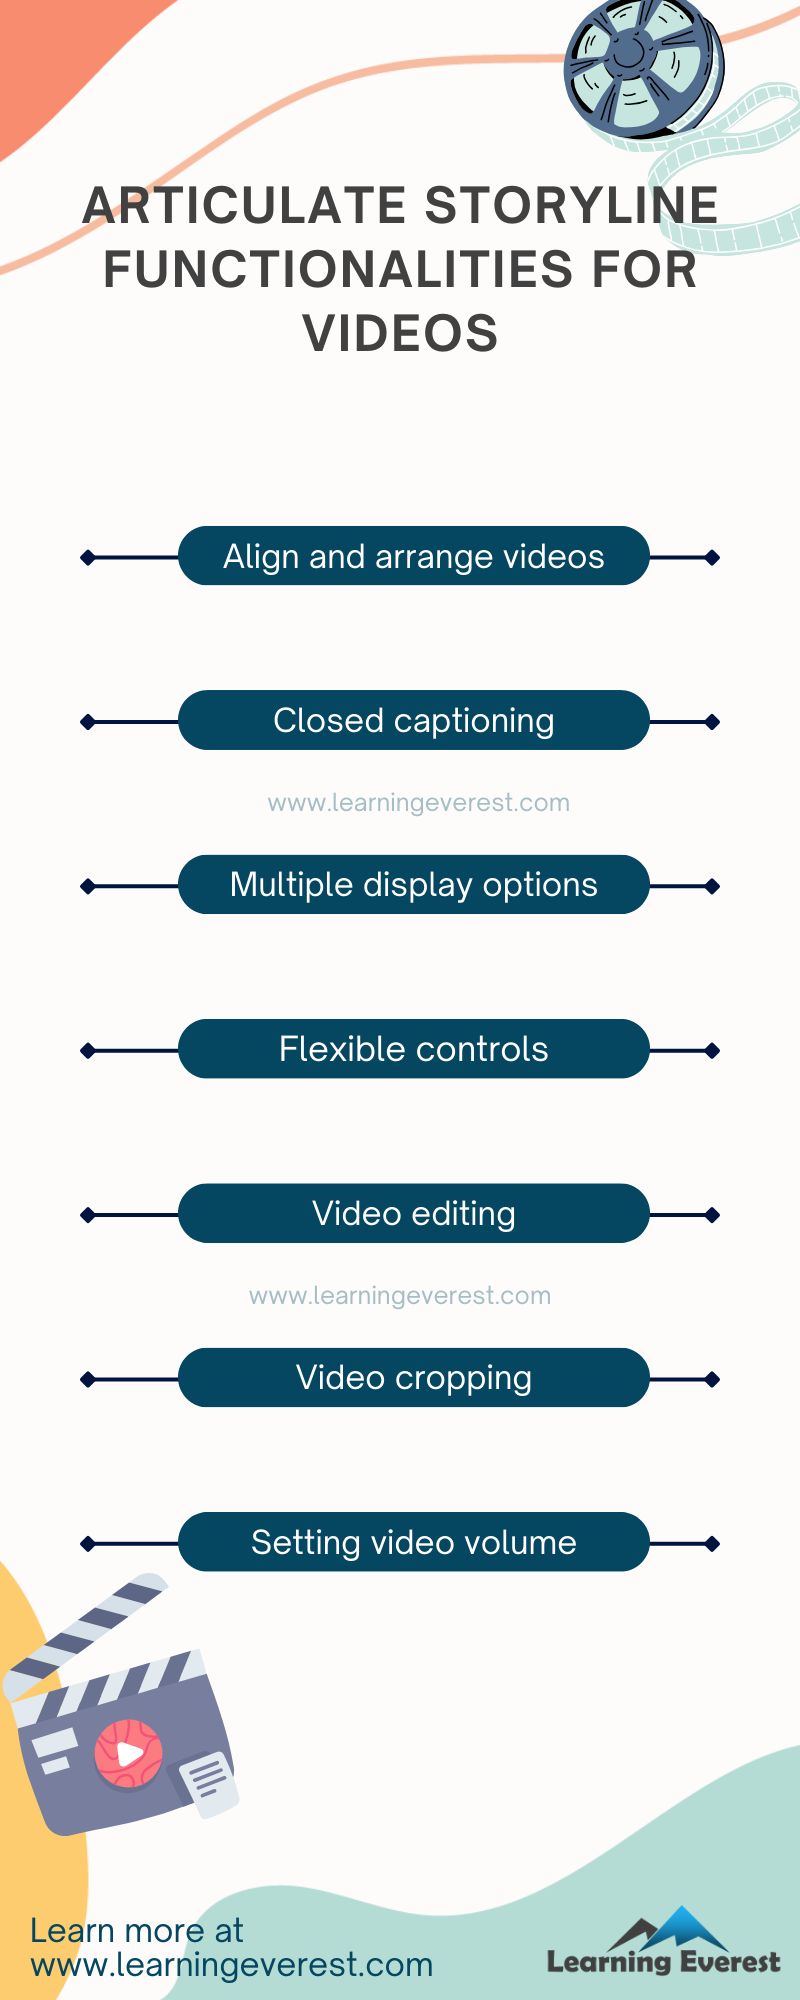
Articulate storyline Functionalities for videos


